Introduction
Installing WordPress is a task that anyone without a technical web hosting or server management background can accomplish. If you’re new to WordPress have no fear. You have many options to get WordPress setup and installed on your self-hosted WordPress hosting environment.
Table of Contents
Many web hosting providers will automatically install WordPress for their new customers. However, you can also take control of this task by manually installing WordPress yourself or using a popular 1-click install such as Softaculous. Installing WordPress manually will help familiarize you with the back-bones of your WordPress hosting account, control panel, and how the WordPress core files, database, and WordPress dashboard all work together.
It’s worth noting that WordPress hosting accounts are typically set up and running on Linux server environments.
Download WordPress Core Files
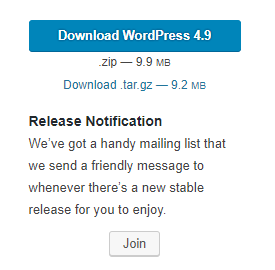
Before getting started, you’ll want to make sure you’ve downloaded the latest version of WordPress from https://wordpress.org/download/.
On the WordPress.org download page, you should see a Download WordPress button. Click the button and a pop-up window will appear asking you to save the .zip file containing the WordPress core files to your computer.
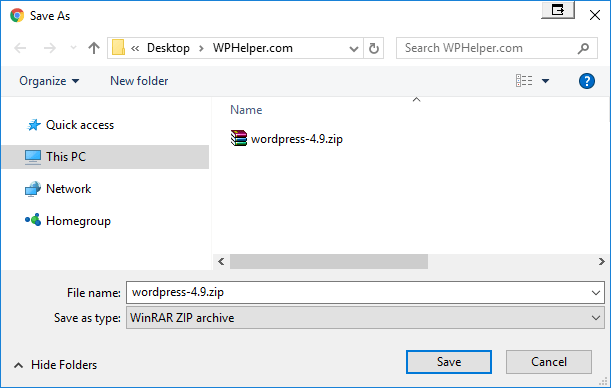
Remember where you’ve saved this .zip file, which contains the core files for WordPress. You will need to upload this .zip file later on in this walkthrough.
Upload WordPress Core Files
This walkthrough assumes that you already have a web hosting account and can access your hosting account’s control panel (cPanel). Some control panels are different, but 99% of the time you’ll be using a control panel called cPanel with most WordPress hosting providers.
cPanel is one of the most widely used control panels in the world and implemented for free on your hosting account by most web hosting providers.
If your web hosting provider does not use cPanel, you should still be able to upload files using their own version of File Manager or accessing your hosting account using a FTP (File Transfer Protocol) client such as FileZilla.
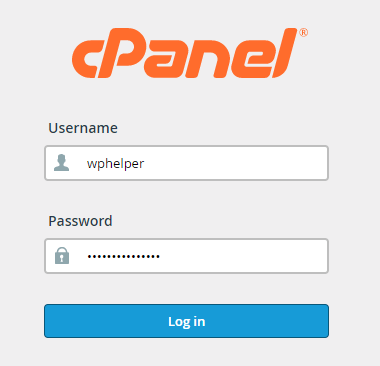
Logging into cPanel
The first step towards accessing File Manager is to log into your control panel. Your Web hosting provider should have provided your control panel login credentials when you first signed up for your web hosting plan.
If you do not know or have these details on hand, you’ll need to contact your web hosting provider to help you retrieve those details.
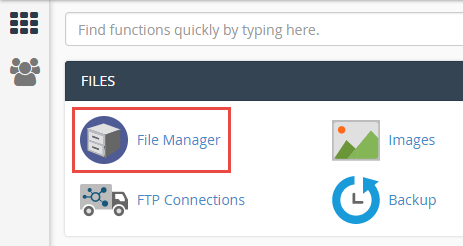
Access File Manager
After logging into your control panel successfully, you’ll want to locate File Manger. In cPanel, the File Manager icon is located under the FILES heading. Click the File Manager icon and a new tab in your browser will take you to the File Manager.
Upload WordPress .zip
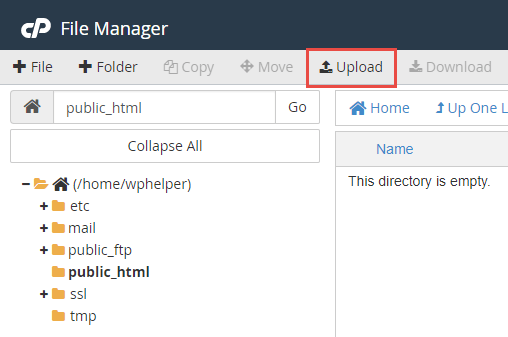
Make sure you navigate to the public_html directory. This is where you will want to upload the .zip file you downloaded earlier from the WordPress.org download page.
- Click the Upload Link
- Select or Drag the .zip File to Upload
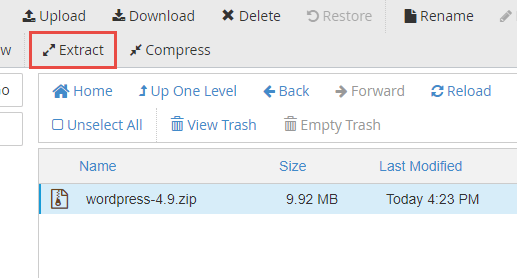
- Click Go Back to “/home/wphelper/public_html”
- Select .zip and Click Extract


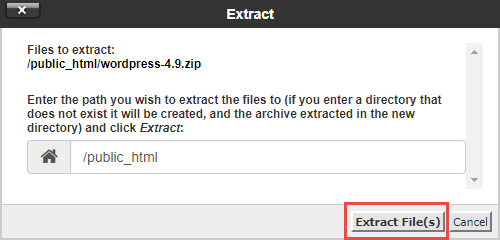
A pop-up will appear asking you where you would like to extract the files from the .zip file. You’ll want to keep it set to the /puglic_html directory and click the Extract File(s) button.
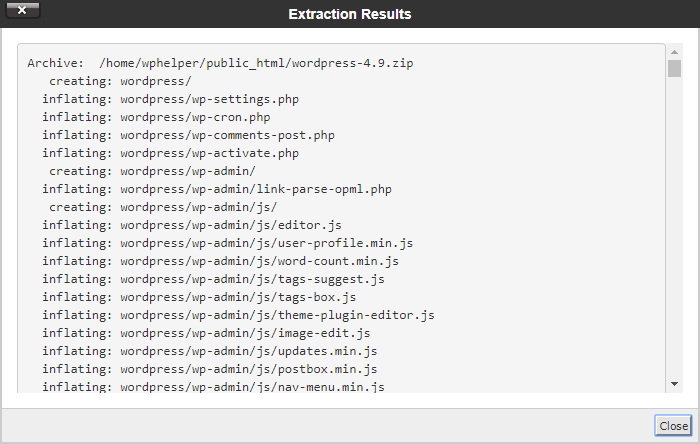
You should see another pop-up appear once the extraction is complete. Click the Close button and you will be taken back to the File Manager page where you’ll see a new wordpress directory and the .zip file you extracted that directory from.
You can delete the .zip file inside of File Manager since you won’t be needing it any longer.

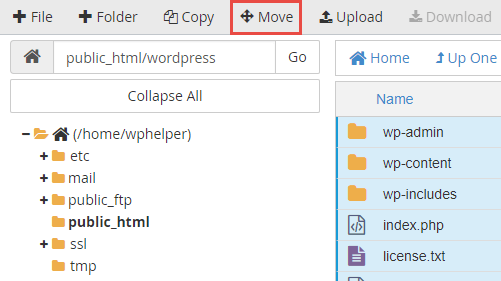
Double click into the wordpress directory and you’ll see all of the WordPress core files.
You’re going to want to move these files from the wordpress directory up one level back to the public_html directory.
Click the Select All link to select all of the core files.

Click the Move link to move the files up one level back to the public_html directory.
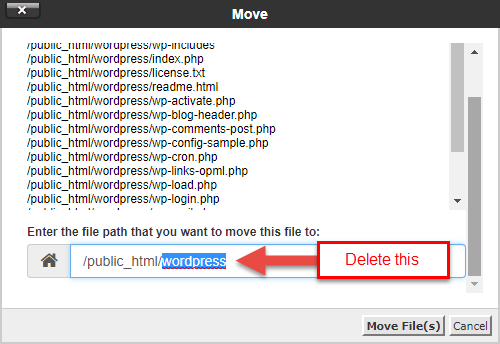
Delete wordpress from the file path and click the Move File(s) button.
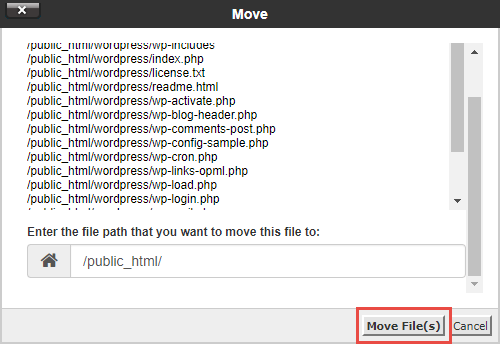
You’ve successfully moved the WordPress core files to your public_html directory.
MySQL Databases
The next step is to create a database, database user, and assign that database user to your database with full privledges so the WordPress installer can run in the last step of this walkthrough.
Save this information in a textpad, notepad, or Word document. You will need to use in the last step when you run the WordPress installer.
Create New Database
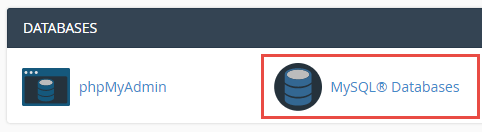
To create a database you’ll want to navigate back to your control panel. Under the DATABASE heading you’ll want to locate the MySQL® Databases icon.
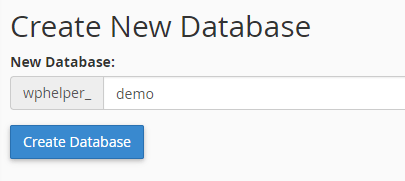
On the next page you’ll create a new database. In this example, we’re going to name the database demo and click the Create Database button.
Your database name doesn’t have to be ‘demo’. You can name your database anything you’d like.
Create Database User
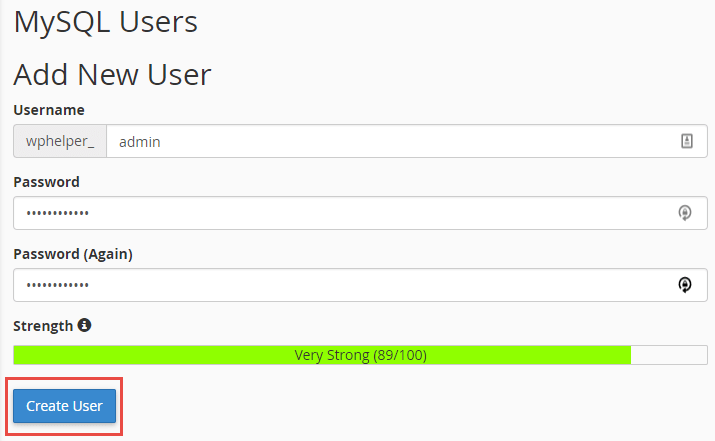
Scroll down to the bottom of the page. You’ll see a section for MySQL Users where you’ll Create User. This is where you create the database user that will have privileges to the database you created in the previous step.
We’re going to create the user admin for this walkthrough and choose a password for this database user that you’ll want save for the last step.
Assign Database User
Now that youre database user has been created you will need to assign privileges for this database user to the database you created. On the bottom of the page you’ll see a section to Add User to Database.
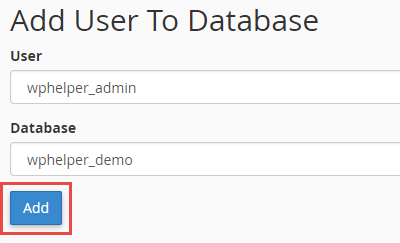
Click the Add button. A new page will load where you’ll select what privileges this database user has to the database you created. Check the box for ALL PRIVLEGES and click the Make Changes button at the bottom of the page.
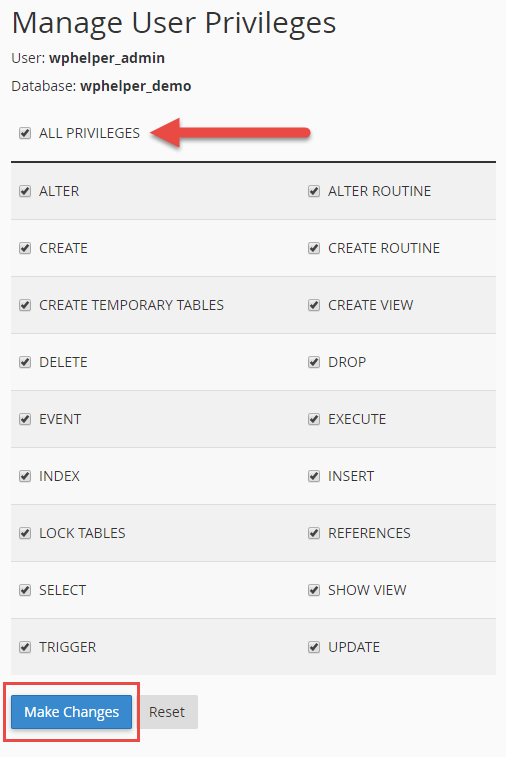
Now that the database user has been assigned ALL PRIVILEGES to the database you created, you can proceed with the last step; running the WordPress installer.
Run WordPress Installer
To run the WordPress installer you can type in either of the following URLs into your browser:
- http://domain.com/wp-admin/setup-config.php
Replace domain.com with your domain name. Your domain name must be pointing to and resolving to your hosting account’s nameservers so you can access the WordPress Installer.
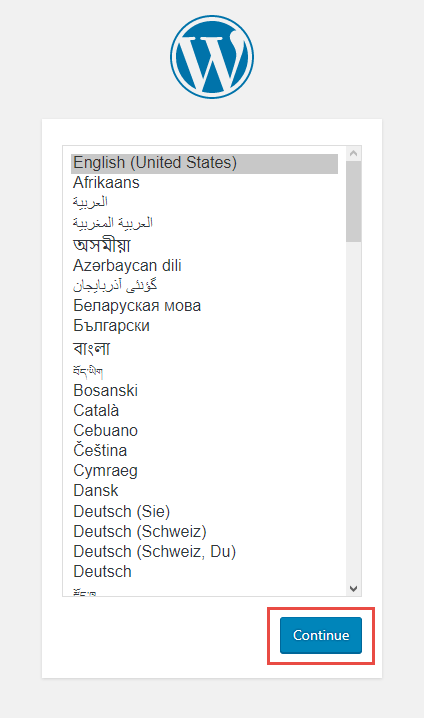
Choose Language
The first page of the setup wizard will ask you to choose your language. After selecting your language click the Continue button to proceed to the next step.
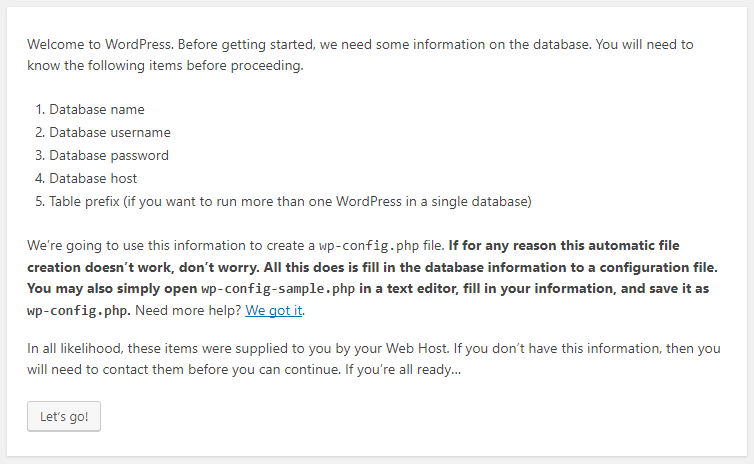
Required Info
Nothing needs to be done on this next page. You’ve already created everything required from the bullet points listed. Click the Let’s Go! button to proceed.
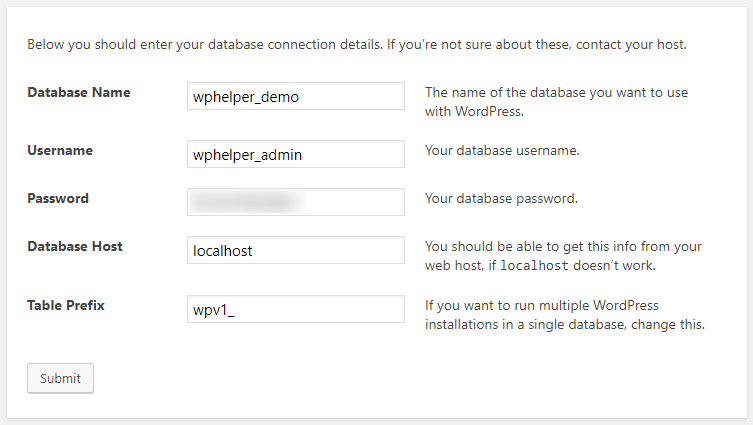
Database Info
Here is where you’ll fill out the database information from previous steps. You’ll be asked to input the following information:
- Database Name
- Database Username
- Database Password
- Database Host
- Table Prefix
Note: The Database Host can remain as localhost. You can choose to name your database table prefix anything you’d like. We recommend adding a couple of characters to the prefix for security purposes.
For example, wp_ is the default table prefix. We added v1 to the table prefix making it wpv1_ for this walkthrough.
Run Installation
After filling out the database information you will be asked to Run the installation on the next page:

Site Info
You’ll be asked for your site’s information. This is where you’ll also create your username and password to log into your self-hosted WordPress dashboard.
There is a checkbox for Search Engine Visibility. This will prevent search engines from crawling and indexing your site if you plan on working on it for a while. You can always update this setting inside of your WordPress dashboard.
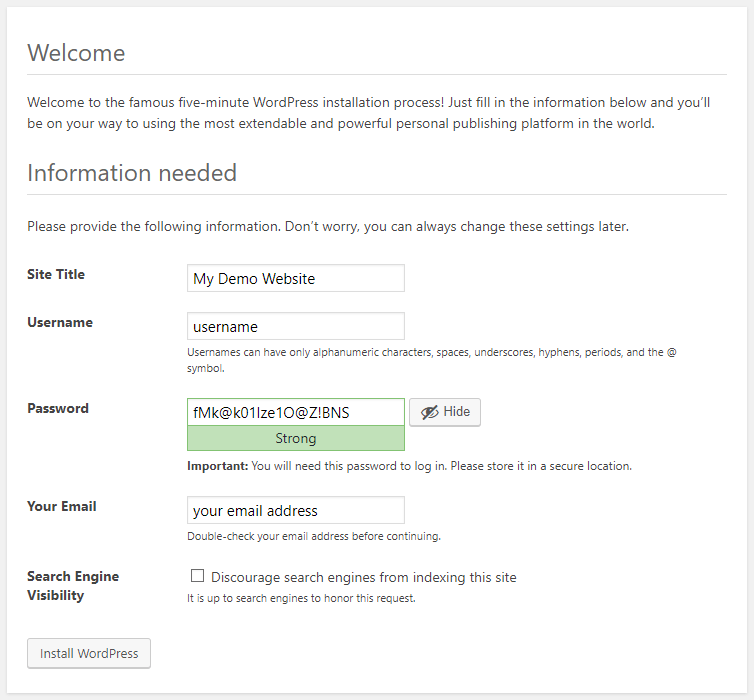
Click the Install WordPress button to finalize your setup and installation of WordPress.
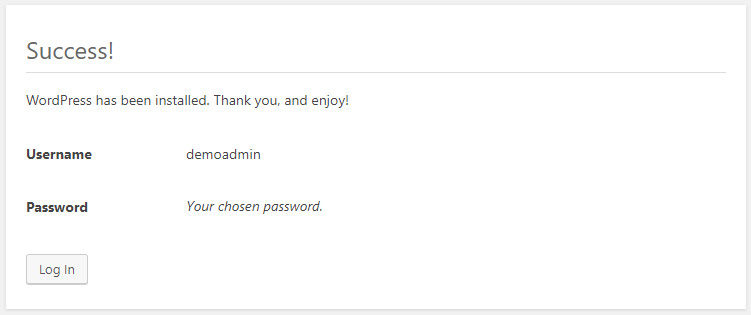
Success!
On the next page you should see a Success! message. You can choose to log into your site by clicking the Log In button on the page.
Congratulations! You have successfully installed a self-hosted version of WordPress on your hosting account. If you haven’t used WordPress before, you’ll want to familiarize yourself with the WordPress dashboard by logging into your site.