WordPress sites are prone to spam comments on pages, posts, contact forms and media uploads such as images. While visitor engagement is important when trying to connect with readers or customers, combating spam can be a tough balance. Comments on pages, blog posts or in the form of product reviews and feedback encourage engagement. It’s also a great way to showcase how active or popular your site might be. One minor setback to keeping those pages, posts, and products open for comments and reviews is that it will lead to unwarranted spam comments.
WordPress sites are common targets for spammers because it’s the most widely used Content Management System (CMS) in the world. WordPress websites aren’t the only ones targeted by spam. Nearly every website on the internet is targeted by spammers. Continue reading to learn how to disable comments on your WordPress website.
Table of Contents
WordPress has an abundance of features built into the admin dashboard that gives WordPress users the ability, and most importantly the flexibility, to control many aspects of a WordPress based website. WordPress pages and posts will have comments enabled by default. If you’re experiencing a lot of spam comments you can disable comments on individual pages and posts that have been published. To disable comments on a page or post follow the instructions below.
Log into the WordPress admin dashboard. You can log into WordPress by entering /wp-admin/ or /wp-login.php at the end of your domain in the address bar of the browser you’re using. Here’s an example of what to type–where yourdomain.com would be replaced by your actual domain.
- yourdomain.com/wp-admin/
- yourdomain.com/wp-login.php
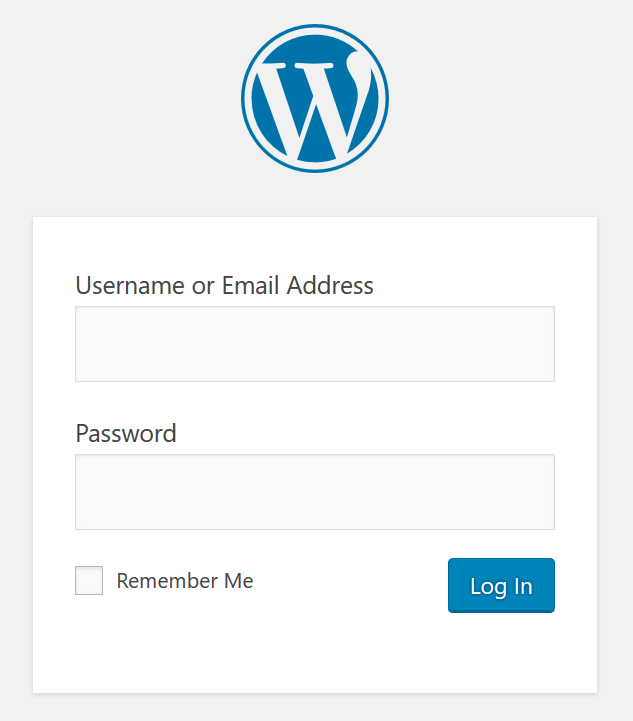
After entering /wp-admin/ or /wp-login.php you should see the WordPress login page. Log into your WordPress website with your username and password. If you forgot your username or password you can click the Lost your password? link or follow these instructions to manually reset your password in the database.
How to Disable WordPress Comments on a Page or Post
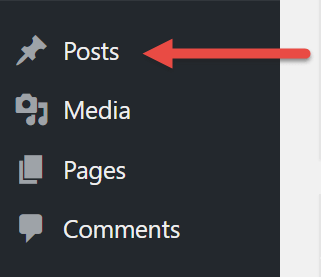
To disable comments on a page or post click Pages or Posts located in the side navigation on the left side of your screen. To disable comments on a page or post is the same process. We’re going to click “Posts” in our example.
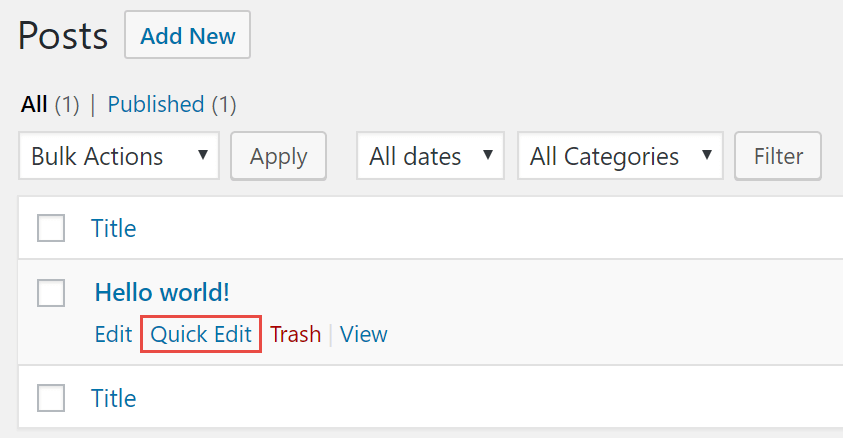
On the “Posts” page you will see a list of the existing posts you’ve published to your website. If you hover over a post you’ll see quick links appear. Click the Quick Edit link under the post title to expand options for that post.
If comments are enabled for that specific post you’ll notice that the Allow Comments box is checked. To disable comments on that post UNCHECK that box and click the Update button.
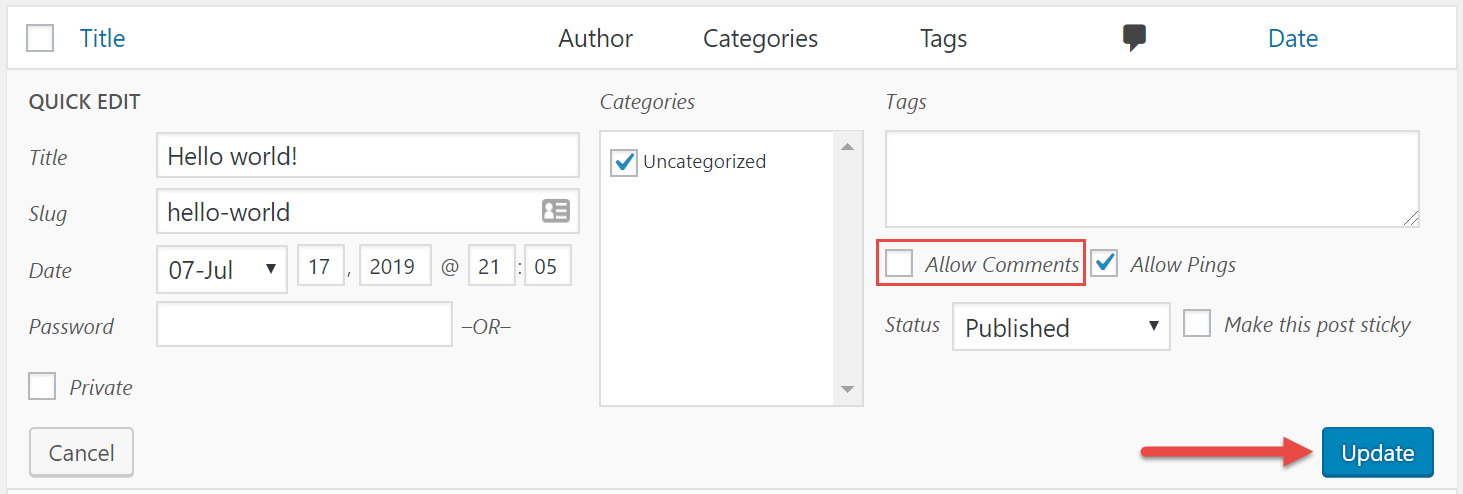
This will disable comments on that specific WordPress post. To enable comments on the post you would follow the same steps and CHECK the box for “Allow Comments”.
How to Disable WordPress Comments in Bulk
Similar to disabling comments on an individual page or post you can also disable WordPress comments in bulk on both pages and posts. Continuing from our first example above you would navigate to the “Posts” page and check the box next to “Title” to select all of the posts on that page.
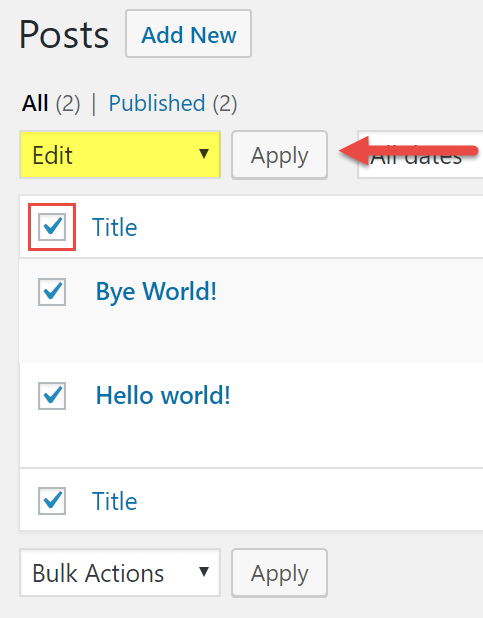
After checking the box click the dropdown that shows “Bulk Actions” and select Edit from the dropdown menu. Click the Apply button. This will expand bulk edit options where you can disable comments on all of the selected posts.
Locate the “Comments” section, click the “No Change” dropdown and select Do not allow. After selecting the “Do not allow” from the dropdown click the Update button to save your bulk changes to disable comments on all of the posts you’ve selected.
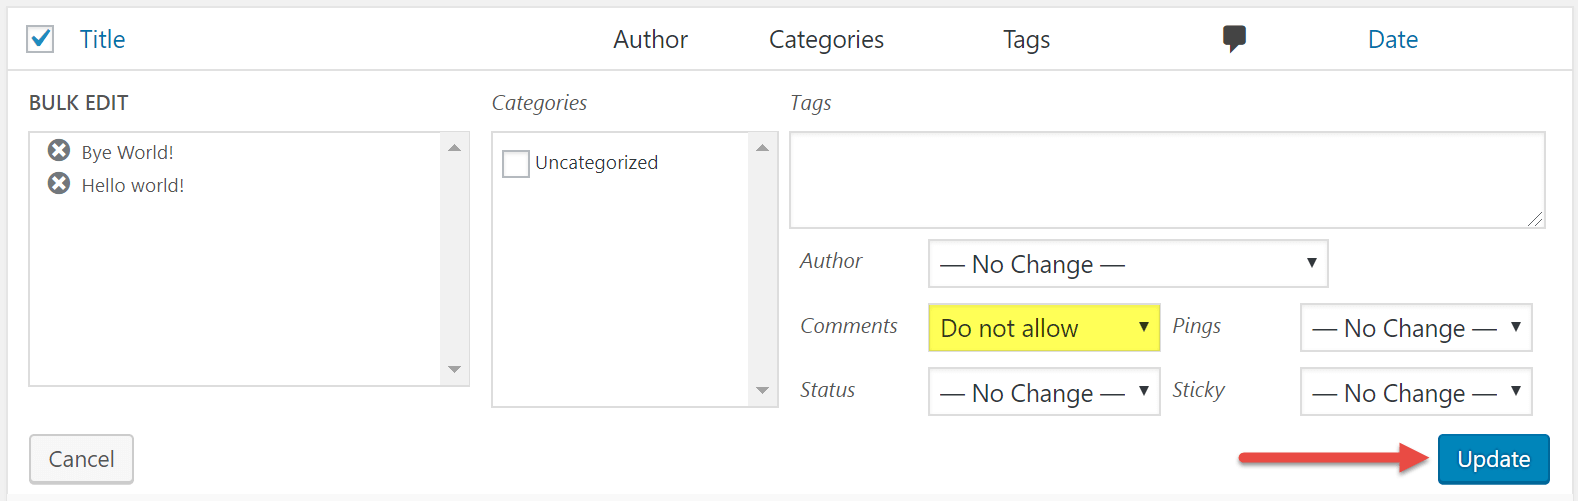
You have no disabled comments in bulk for the selected posts. By default, WordPress shows 20 posts on the page that you can bulk edit. If you have more than 20 posts click to the next page of posts and follow the same process.
How to Disable WordPress Comments on New/Future Posts
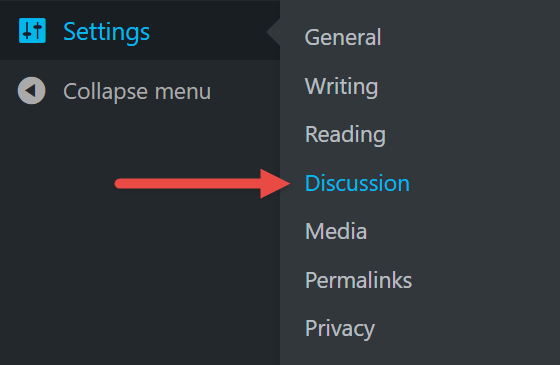
WordPress has an option built into the admin dashboard to disable comments on all new posts. To enable or disable comments on new posts you’ll need to navigate to the WordPress Settings > Discussion.
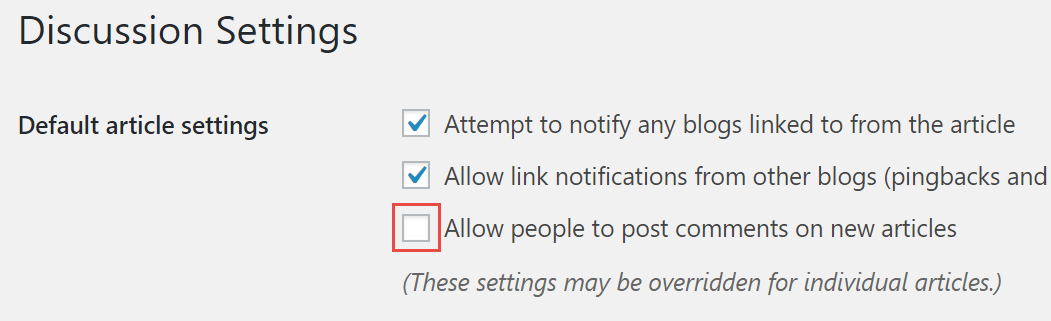
By default, the option for Allow people to post comments on new articles is enabled on new WordPress sites. To disable comments on all new posts UNCHECK this option and click the Save Changes button at the bottom of the page.
All new pages or posts will now have comments disabled by default.
How to Disable WordPress Comments on Media Uploads
When a media file such as an image is uploaded you can sometimes, depending on your theme or plugins being used, access that image on a page of your site. If you’re seeing comments made on pages for media files you’ll need to add a snippet of code to your theme’s functions.php file. Your theme’s functions.php file is located at /wp-content/themes/functions.php.
function filter_media_comment_status( $open, $post_id ) {
    $post = get_post( $post_id );
    if( $post->post_type == 'attachment' ) {
        return false;
    }
    return $open;
}
add_filter( 'comments_open', 'filter_media_comment_status', 10 , 2 );
The functions.php file can be edited by using a File Manager or File Transfer Protocol (FTP) client. If you are not comfortable editing theme files you should consult your webmaster or developer to make this change for you.
How to Stop Comment Spam with Google reCAPTCHA
If you’re looking for a way to combat spam comments while keeping comments enabled on your site you will need to secure your site further so spammers (spam bots) can’t leave comments on your pages, posts, media, or submit contact forms. A great way to combat spam is to setup Google reCAPTCHA on your WordPress site to protect login pages, comment forms, contact forms, posts and pages from spam.
How to Stop Comment Spam with Google reCAPTCHA
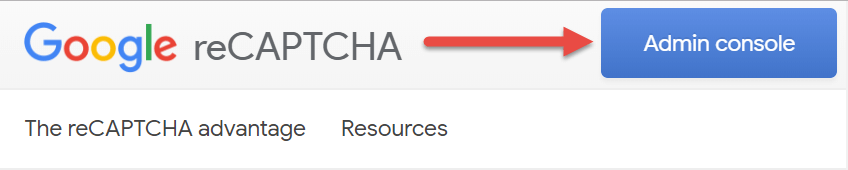
To setup Google reCAPTCHA will require you to have a Google account. Once you’ve logged in or created your Google account you’ll need to go to https://www.google.com/recaptcha. Click the Admin console button located in the upper right of the page.
This will take you inside of your Google reCAPTCHA account. Once inside click the ‘+‘ icon to add a website. You need to go through this process to obtain your site key and secret key, which will be needed in a future steps.

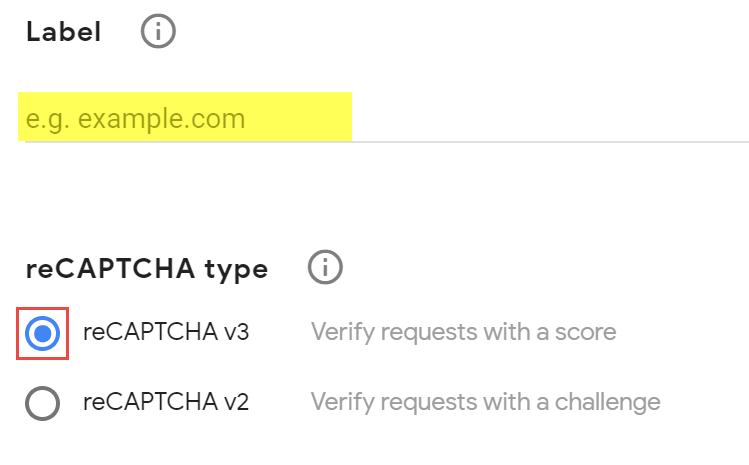
On the next page enter your domain for the label (e.g., yourdomain.com) to easily identify that domain if you plan on adding more in your reCAPTCHA account. Then select the reCAPTCHA v3 to Verify requests with a score. This will allow you to enable the Invisible reCAPTCHA on your site so users don’t have to check a box for verification.
Enter your domain name under the Domains heading. This is so your domain is valid (associated) with this reCAPTCHA account’s site key and secret key. To ensure Google reCAPTCHA works on your domain that you’ve specified. This is not restricted to one domain. You can add multiple domains or subdomains if you choose.

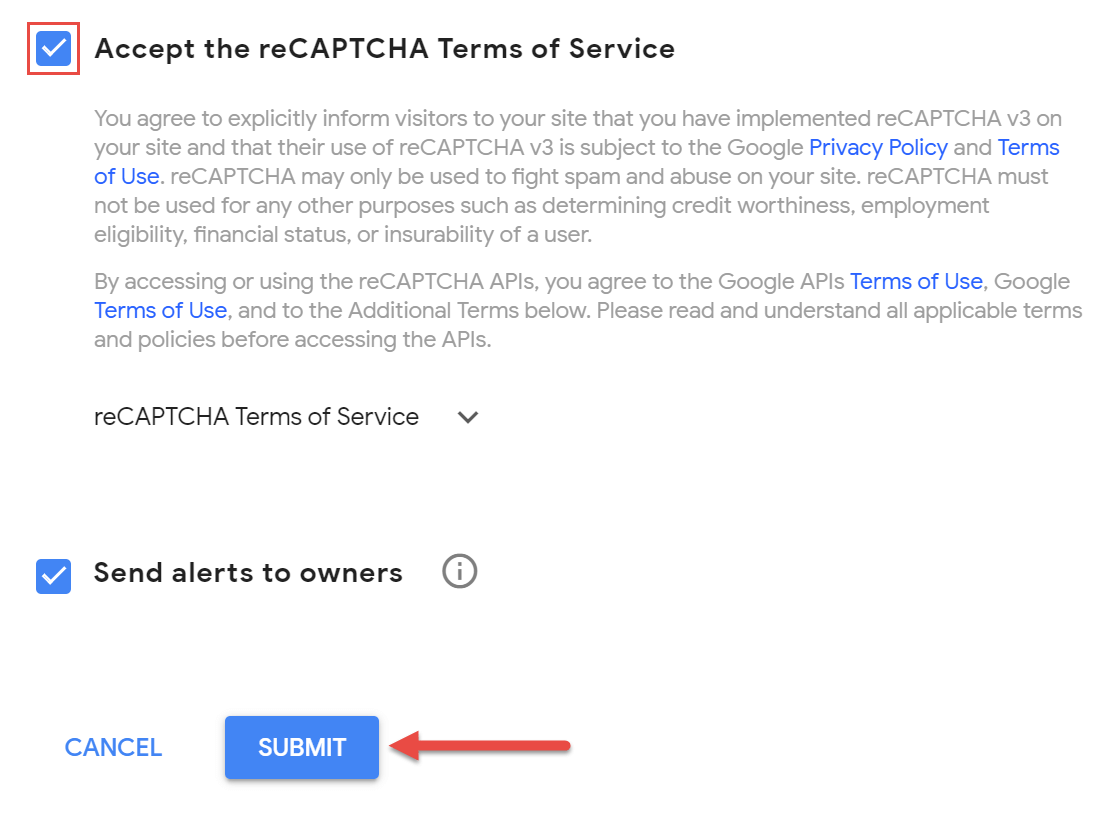
You will need to Accept the reCAPTCHA Terms of Service, choose whether or not you want alerts sent to you, and click the Submit button.
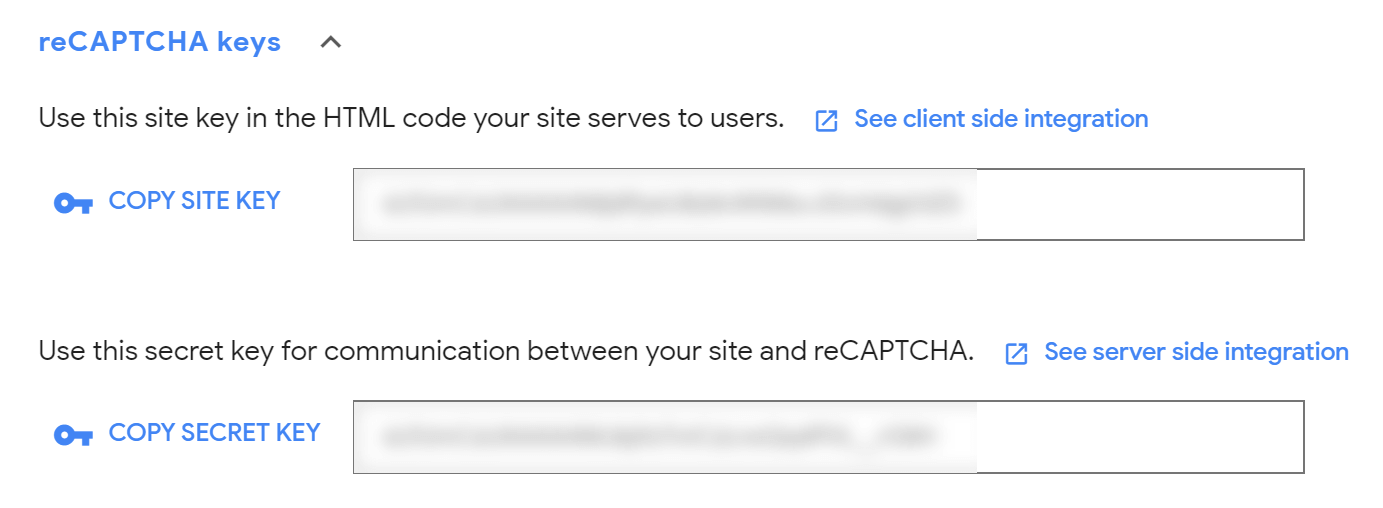
Click the Settings wheel on your property to retrieve your site key and secret key. Copy these two keys for the next steps. It goes without saying, but DO NOT share these keys with any third-parties.

Install & Configure WordPress Google reCAPTCHA
Log back into your WordPress admin dashboard. You will need to install a plugin to enable Google reCAPTCHA’s verification to your WordPress site.
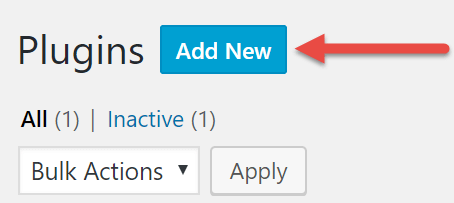
Navigate to the Plugins section of the dashboard and click the Add New button at the top of the page.
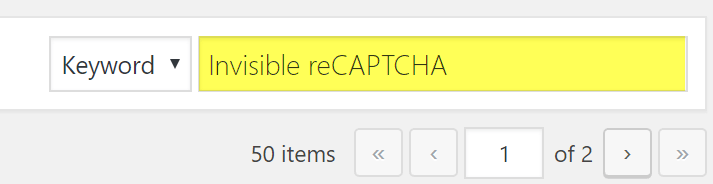
In the Search plugins… box type “Invisible reCAPTCHA”. This will auto-populate various Google reCAPTCHA supported plugins in the WordPress marketplace.
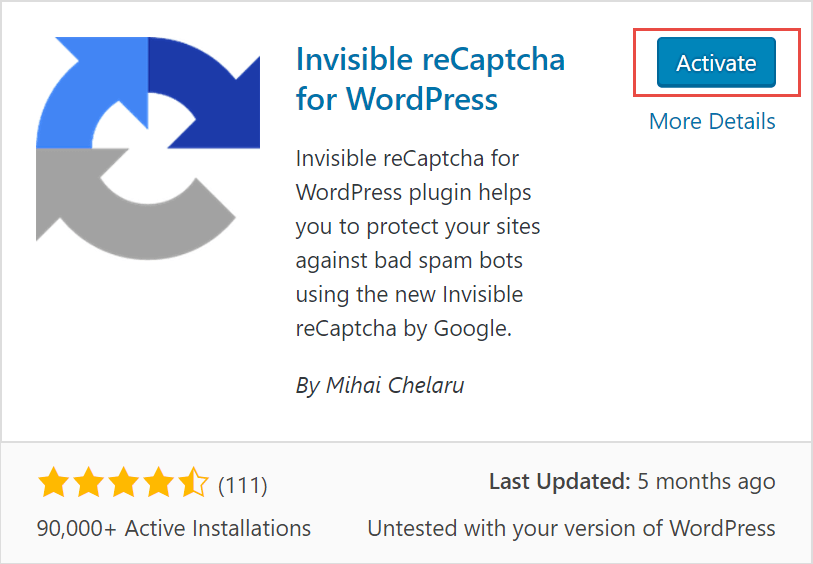
Locate the plugin Invisible reCAPTCHA for WordPress by Mihai Chelaru and click the Install button. Click the Activate button after the plugin has been installed.

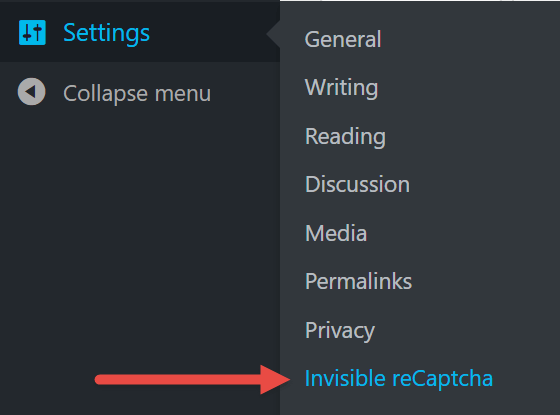
Now that you’ve installed the Invisible reCAPTCHA plugin for WordPress you’ll need to configure the plugin’s settings with your site key and secrete key from the previous step. Navigate to Settings > Invisible reCAPTCHA.
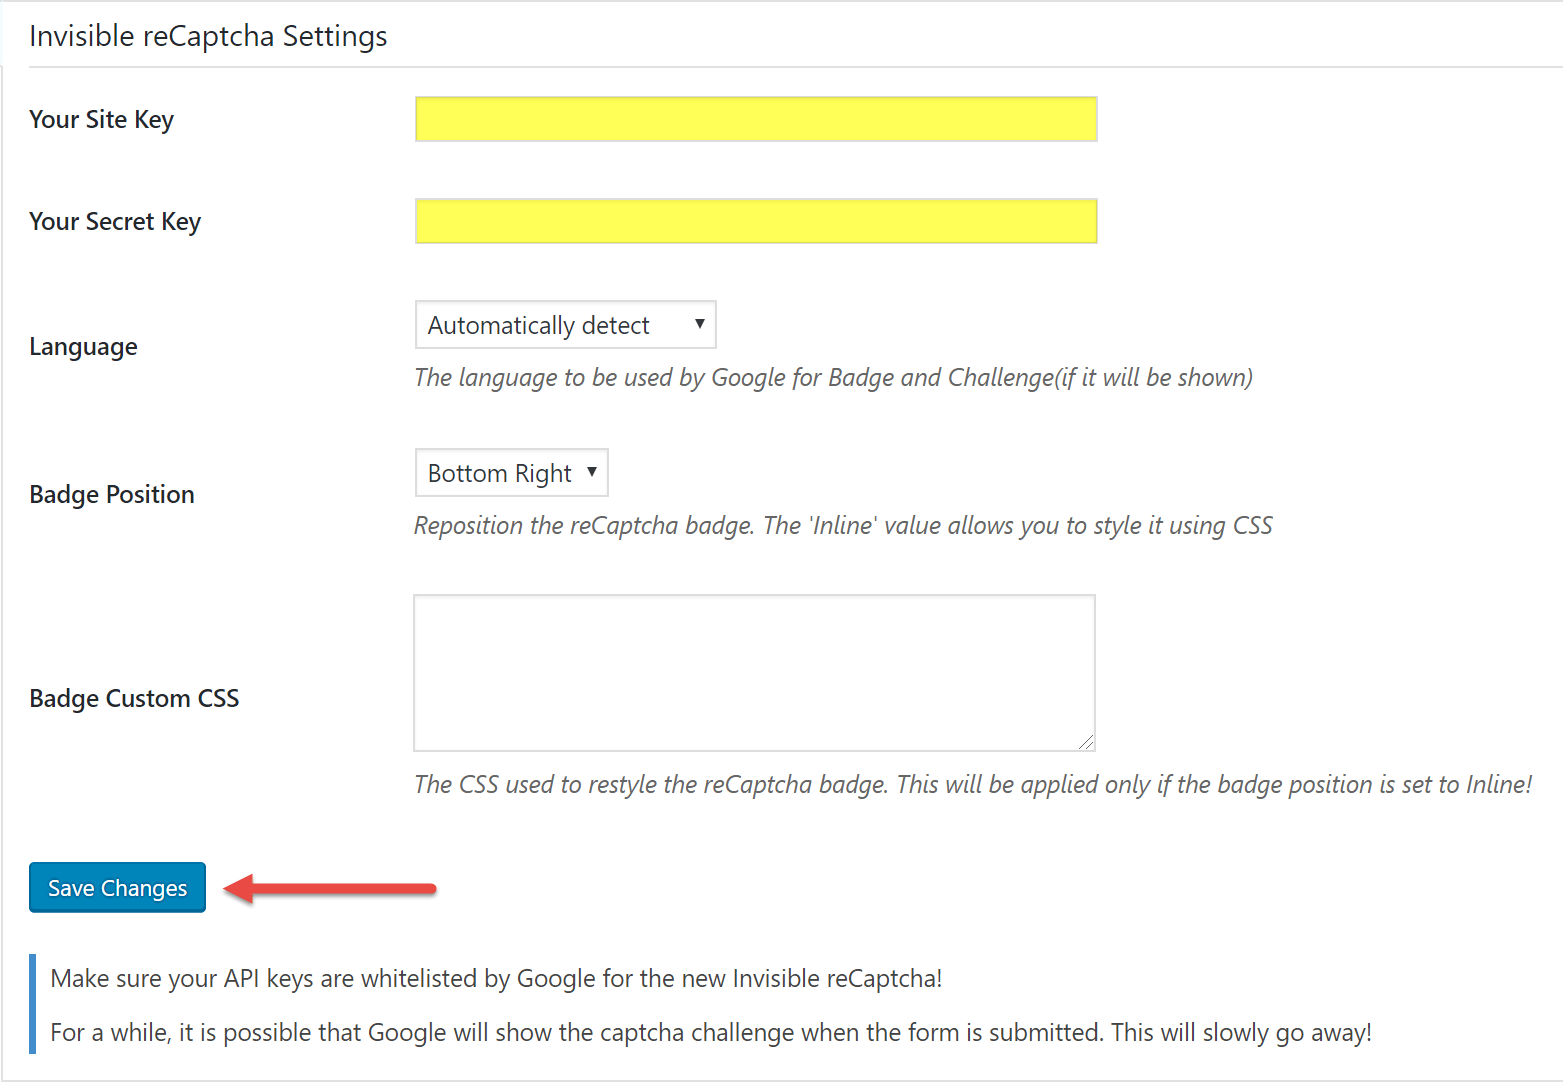
On the settings page ENTER your site key and secret key into the appropriate boxes. Click the Save Changes button at the bottom of the page.
On the WordPress tab inside of the Invisible reCAPTCHA Settings you can select what to enable the Google reCAPTCHA verification on. By default, the plugin has the protection settings enabled for the following:
- Enable Login Form Protection
- Enable Registration Form Protection
- Enable Comments Form Protection
- Enable Forgot Password Form Protection
You can also enable protection on your contact forms through the Invisible reCAPTCHA plugin if you’re using the Contact Form 7 plugin or Gravity Forms plugin. By default, these are disabled. To ENABLE protection on forms generated with Contact Form 7 or Gravity Forms click the Contact Forms tab in the Invisible reCAPTCHA settings.
You’ve now learned how to disable or enable comments on individual posts and pages and combat spam with Google reCAPTCHA using the Invisible reCAPTCHA for WordPress plugin. If you plan on keeping comments enabled on your WordPress site you may still see a few spam comments trickle in, but if you’ve followed the instructions above you should see very few spam comments slip through the cracks.